The Greek word skol, which means twists and turns, is where the term “scoliosis” comes from. The center of gravity of the body is shifted by scoliosis, which also causes the spinal deformity, moves the ribs, and twists the shoulders, shoulders, and hips.
In scoliosis, the spine forms an S curve (or inverted S curve) from side to side down the back rather than running in a straight line. The rib cage is turned and the sides of the back are uneven as the back of the spine rotates in the direction of the concave side of the S. The ribs compress on the concave side of the spine and spread apart on the convex side when this curve happens close to the middle of your back.
The linked ribs on the convex side compress against the spine and slide back, while those on the concave side push sideways and forward, creating the rotation of the rib cage that is typical of the disorder. On the convex side, the ribs frequently protrude to the back, and over time, a tight, agonizing mass of muscular tissue forms over those bones.
The most evident signs of scoliosis are physical, your body is plainly crooked but other symptoms include discomfort and cardiac issues (caused by compression of the heart and lungs).
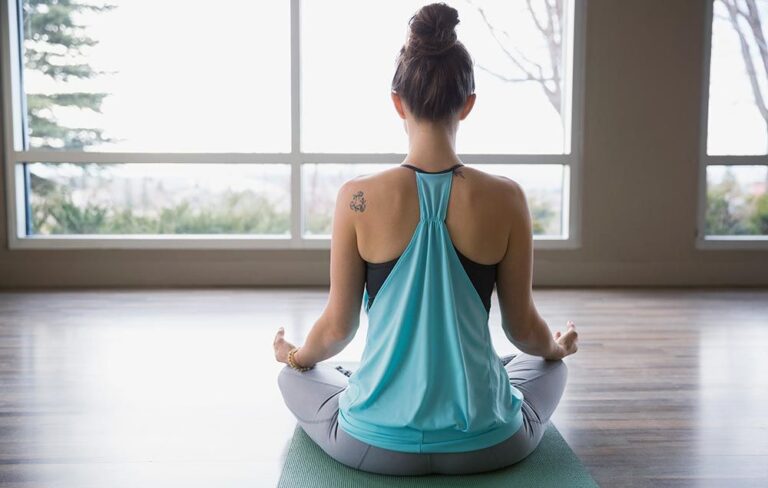
Here are four simple yoga poses you may practice at home using a yoga mat or a thick towel.
Marjaryasana–Bitilasana (Cat–Cow)
Place your hands below your shoulders and your knees below your hips while you knead in the tabletop posture.
Lift your head and tailbone while inhaling to create a concave lower back. Once exhaling, tuck your tailbone, round your back, and relax your neck to lower your head.
Do it at least ten times.
Balasana (Child’s Pose)
After the Cat-Cow exhales, move your hands forward. Take a deep breath into your back, focusing on the side that is concave and where your ribs are compressed.
- As you exhale, slide your buttocks halfway back towards your heels. Taking a deep breath in, extend your arms and pelvis apart, letting your lower back follow your pelvis and upper back your arms.
- While you inhale, extend your spine and back muscles and feel your intercostal muscles, which are the muscles between your ribs, stretch. Walk your arms towards the convex side while maintaining them shoulder-width apart to help extend the compressed ribs on the concave side.
- Take note of how this motion evens out your back.
- After breathing for a minute in this position, bring your buttocks all the way back to your heels and relax your arms at your sides. Get completely relaxed.

Branch Pose
The tree pose, another standing position, is beneficial for improving your balance and posture and developing your core. Moreover, it aids with stress relief.
- Place your left foot underweight, grab your right ankle with your right hand, and lower yourself.
- The sole of your right foot should rest against the back of your left leg. Put your foot against your calf if you are unable to reach your thigh.
- Your spine should be flexed and lengthened. Point your tailbone towards the floor while drawing your pelvic bone inward.
- Move your shoulder blades together while placing your palms together in front of your chest.
Breathe slowly and steadily as you look forward. - Spend 30 seconds in this position on your left leg, then gradually increase the time to one minute. Continue by using your right leg.
Mountain position
You should start your yoga practice in this position. It improves core stability and balance and calls for you to stand tall and steadily, like a mountain.
- Standing with your large toes in contact and your heels just apart (inverted V shape).
- Let your shoulders relax and let your arms dangle at your sides.
- Focus on your feet while closing your eyes and picturing yourself firmly standing on the ground.
- To properly distribute the weight over your feet, raise yourself up onto the balls of your feet, followed by your toes.
- Resuming a flat position, find your equilibrium. your toes apart.
- Do not lock your knees; instead, contract your thigh muscles.
- As you approach your navel, lift your pelvic bone slightly.
- Maintain a horizontal chin, relax your shoulders, and allow your arms to hang freely.
- Breathe slowly while letting your facial muscles relax. If feasible, try to breathe through your nose while letting your stomach move out and your diaphragm expand, and exhale through pursed lips.
- Remain in this position for 30 to 60 seconds.
Like with any activity, it is crucial to begin slowly and gently. As to start with any exercise, always consult your doctor at Specialty Care Clinics
before beginning. Contact us at (469) 545-9983 to schedule your appointment.